Integrate seekdb MCP Server with Augment Code
MCP (Model Context Protocol) is an open-source protocol released by Anthropic in November 2024, designed to enable large language models (LLMs) to interact with external tools or data sources. With MCP, users no longer need to manually copy and execute the output of the large model. Instead, the large model can directly command the tool to perform the corresponding action (Action).
MCP Server provides the capability for large models to interact with seekdb through the MCP protocol and execute SQL statements. With the right client, you can quickly build a project prototype, and it is already open-sourced on GitHub.
Augment Code is a developer AI platform that helps you understand your code, debug issues, and release faster by understanding your codebase. Use chat, next-step editing, and code completion to get more done.
This article will demonstrate how to use Augment Code to quickly build a backend application using seekdb MCP Server.
Prerequisites
-
You have deployed seekdb.
-
You have installed Python 3.11 or later and the corresponding pip. If your machine has a lower Python version, you can use Miniconda to create a new Python 3.11 or later environment. For more information, see the Miniconda installation guide.
-
You have installed the Python package manager uv. After installation, you can use the
uv --versioncommand to verify the installation:pip install uv
uv --version -
You have installed the
Augment Codeplugin in Visual Studio Code.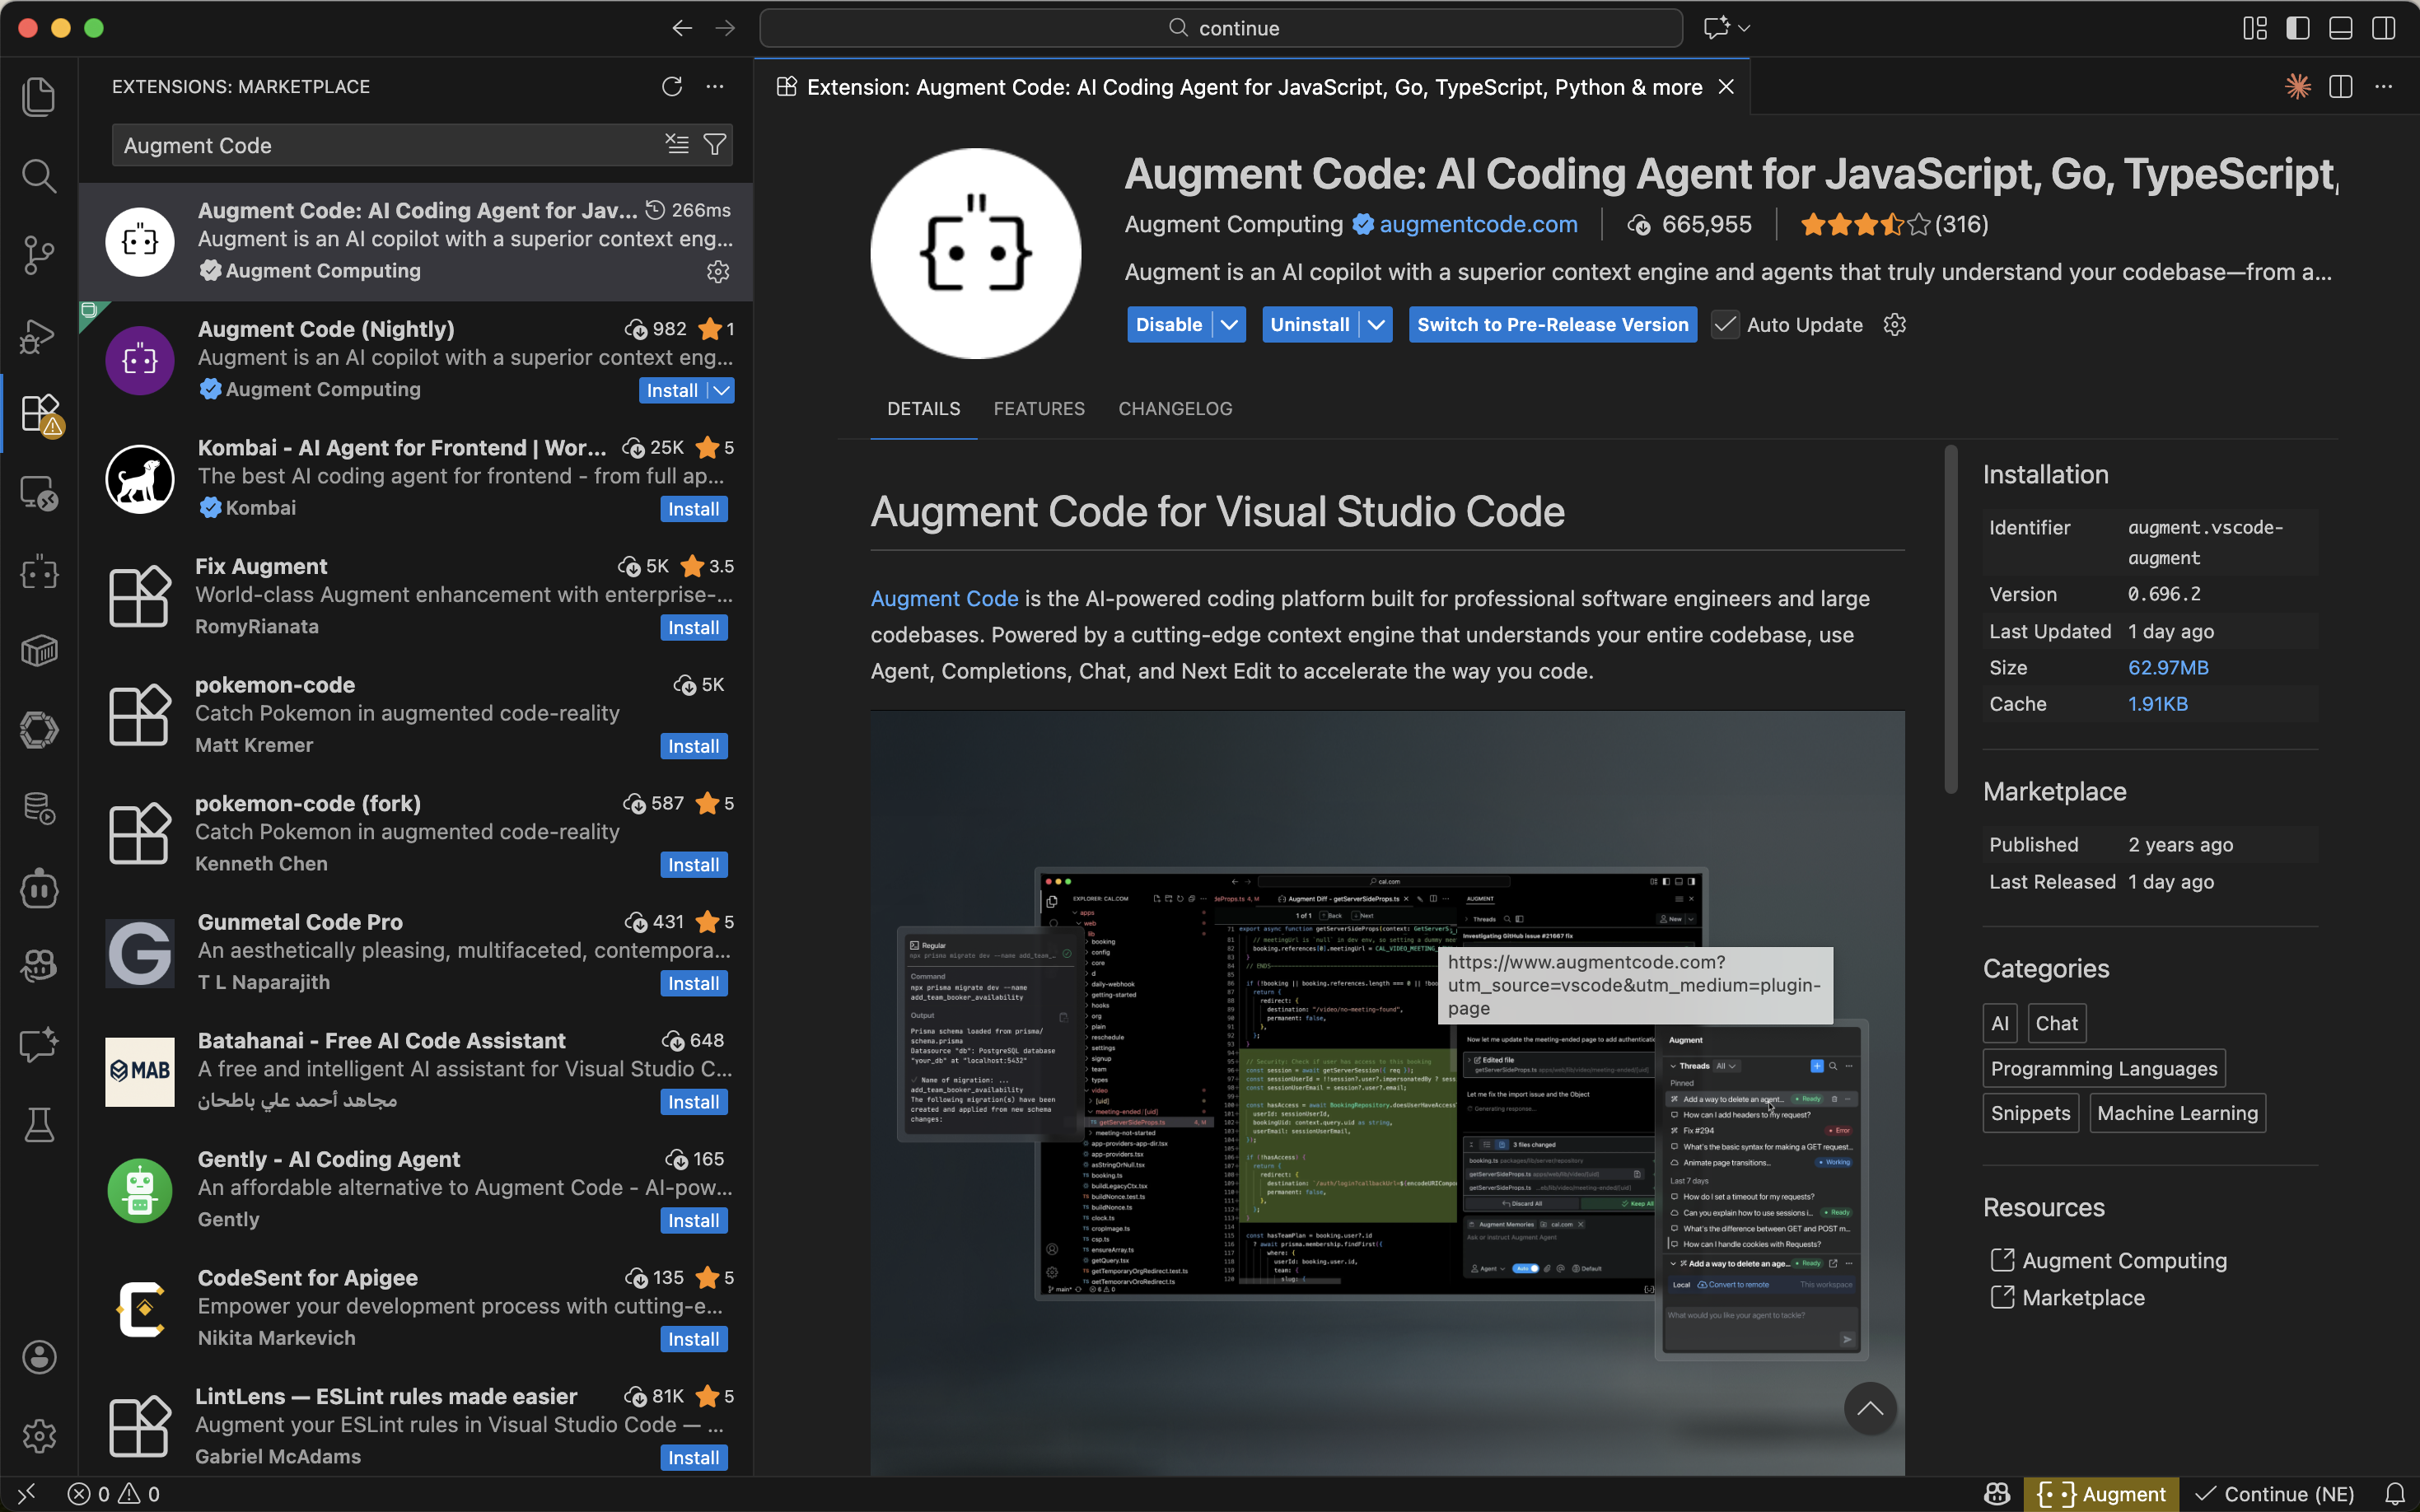
Step 1: Obtain Database Connection Information
Contact the seekdb deployment personnel or administrator to obtain the corresponding database connection string, for example:
mysql -h$host -P$port -u$user_name -p$password -D$database_name
Parameter Description:
-
$host: the IP address for connecting to seekdb. -
$port: the port for connecting to seekdb, default is 2881. -
$database_name: the name of the database to be accessed.tipThe user needs to have the
CREATE,INSERT,DROP, andSELECTpermissions on the database. -
$user_name: the database connection account. -
$password: the account password.
Step 2: Configure seekdb MCP Server
This example uses Visual Studio Code to demonstrate how to configure seekdb MCP Server.
Install seekdb MCP Server
Run the following command to install:
pip install seekdb-mcp-server
Configure seekdb Server Environment Variables in the .env File
Create a file named .env in the current directory and add the following content:
vi .env

SEEKDB_HOST=localhost      # Database host
SEEKDB_PORT=2881           # Database port (default: 2881)
SEEKDB_USER=your_username
SEEKDB_PASSWORD=your_password
SEEKDB_DATABASE=your_database
Start in SSE Mode
env $(cat .env | xargs) uvx seekdb-mcp-server --transport sse --port 8000 --host 0.0.0.0
Add and Configure MCP Servers
-
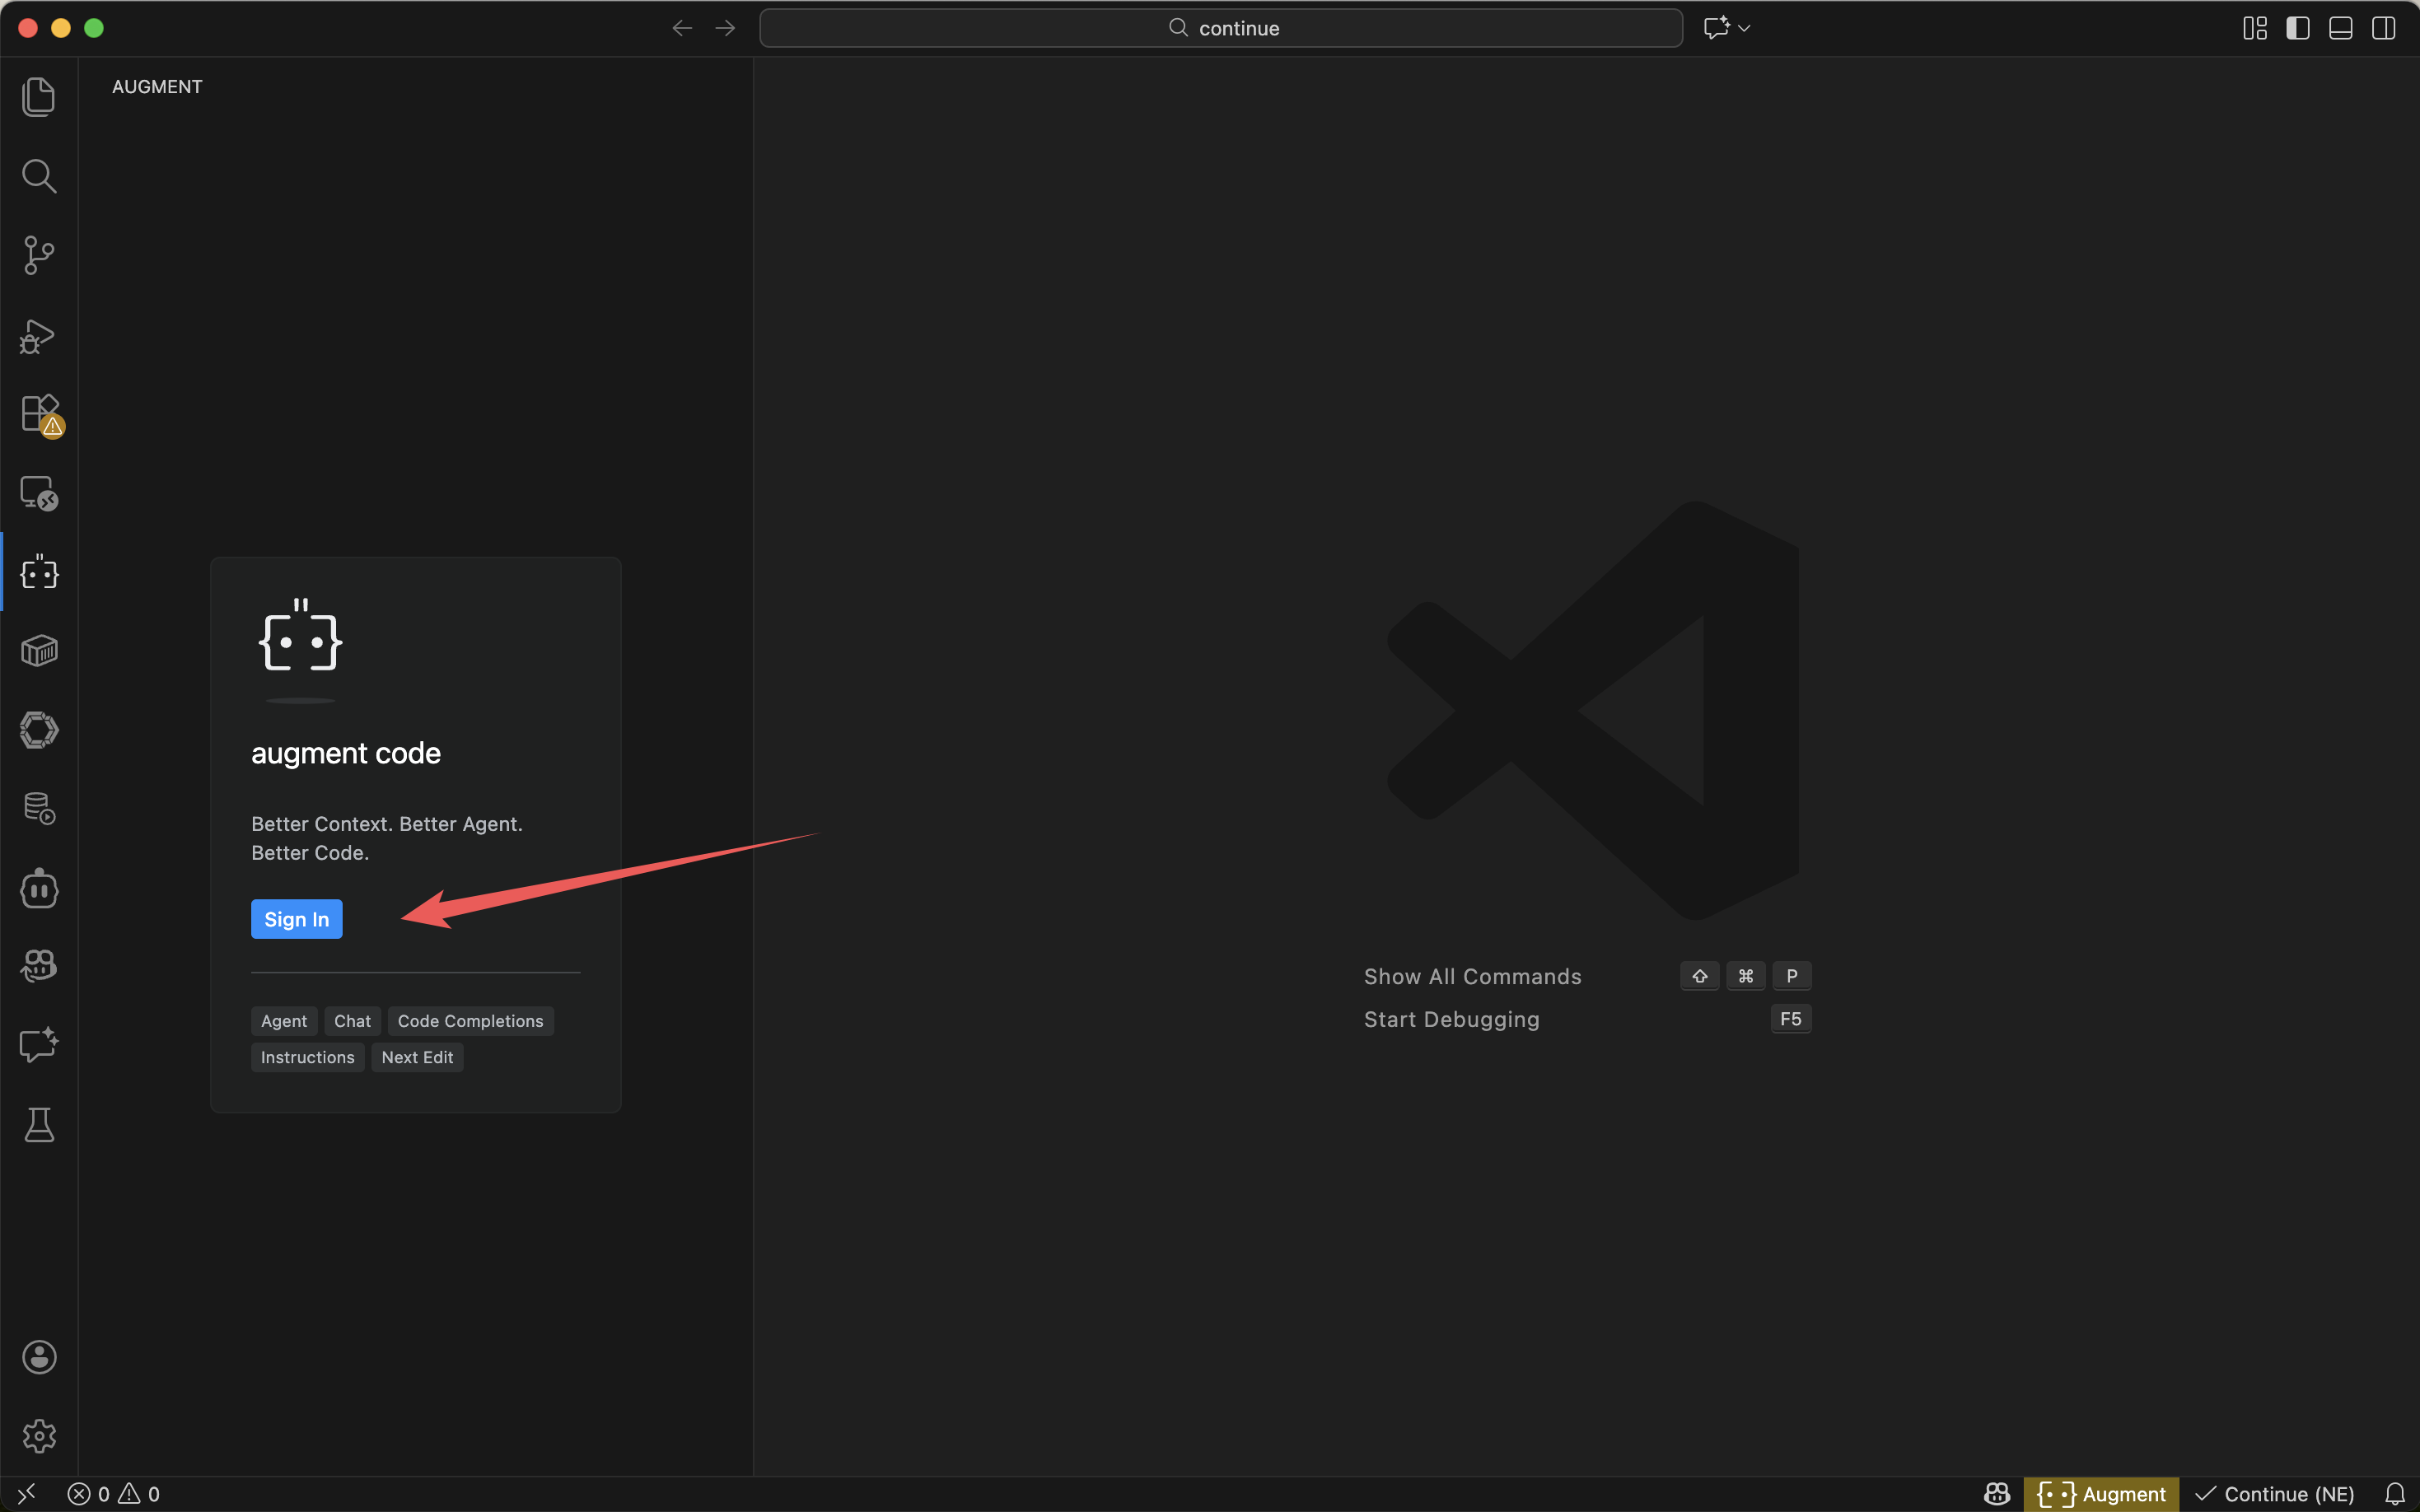
Log in to Augment Code.
-
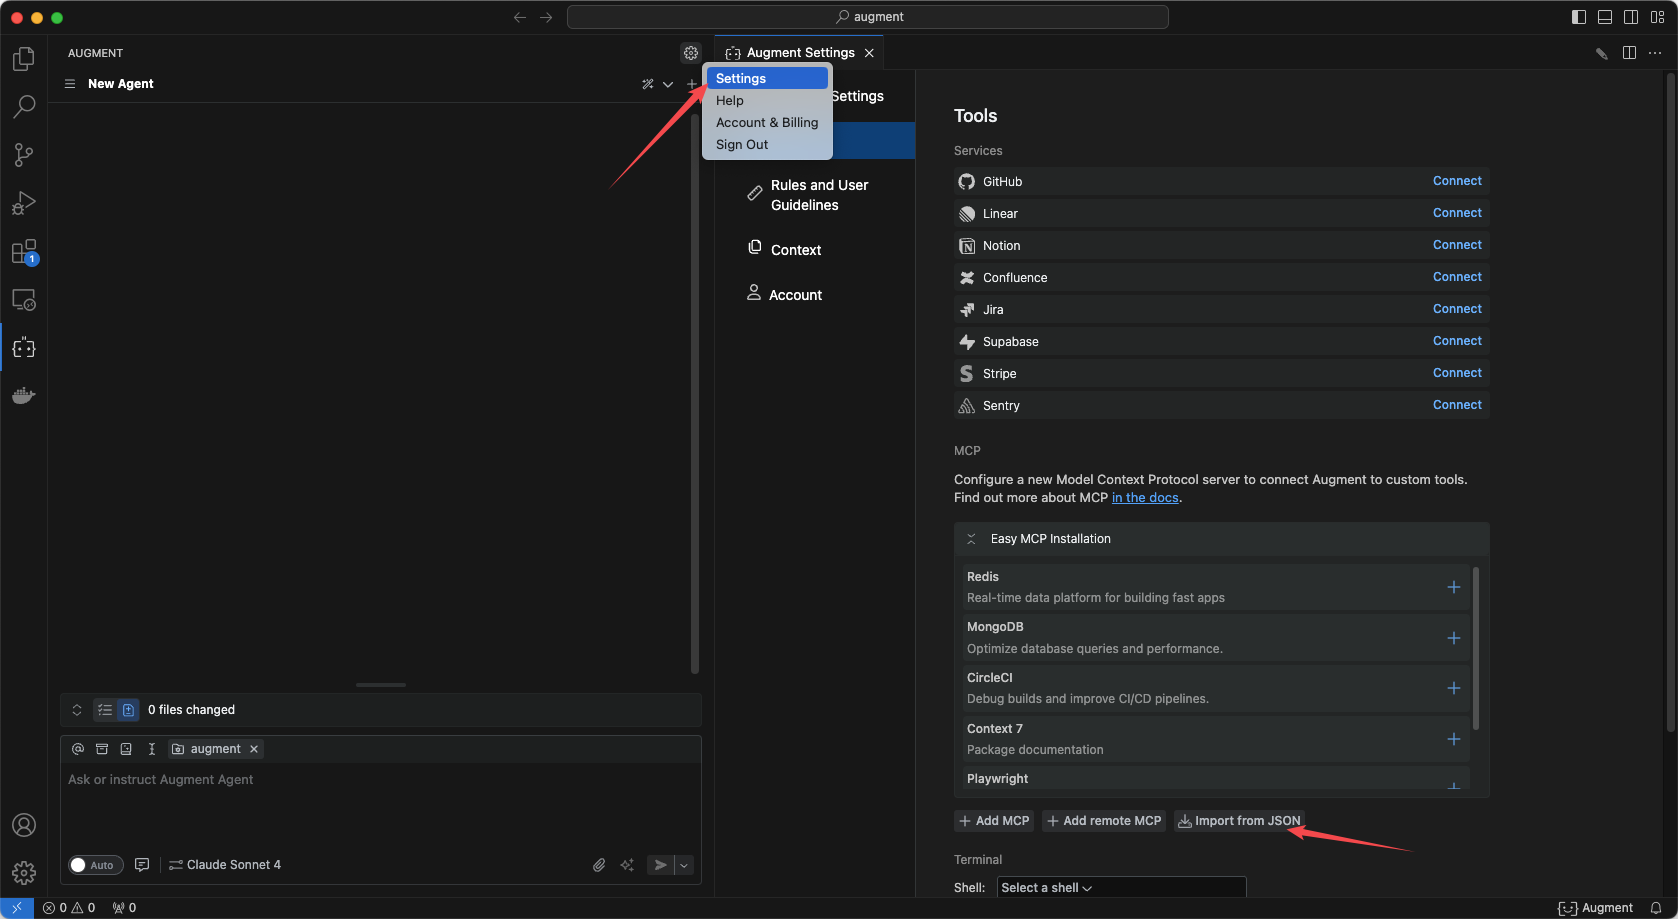
Configure seekdb MCP Server in Augment Code.
-
Click Import from json and fill in the MCP configuration file.
-
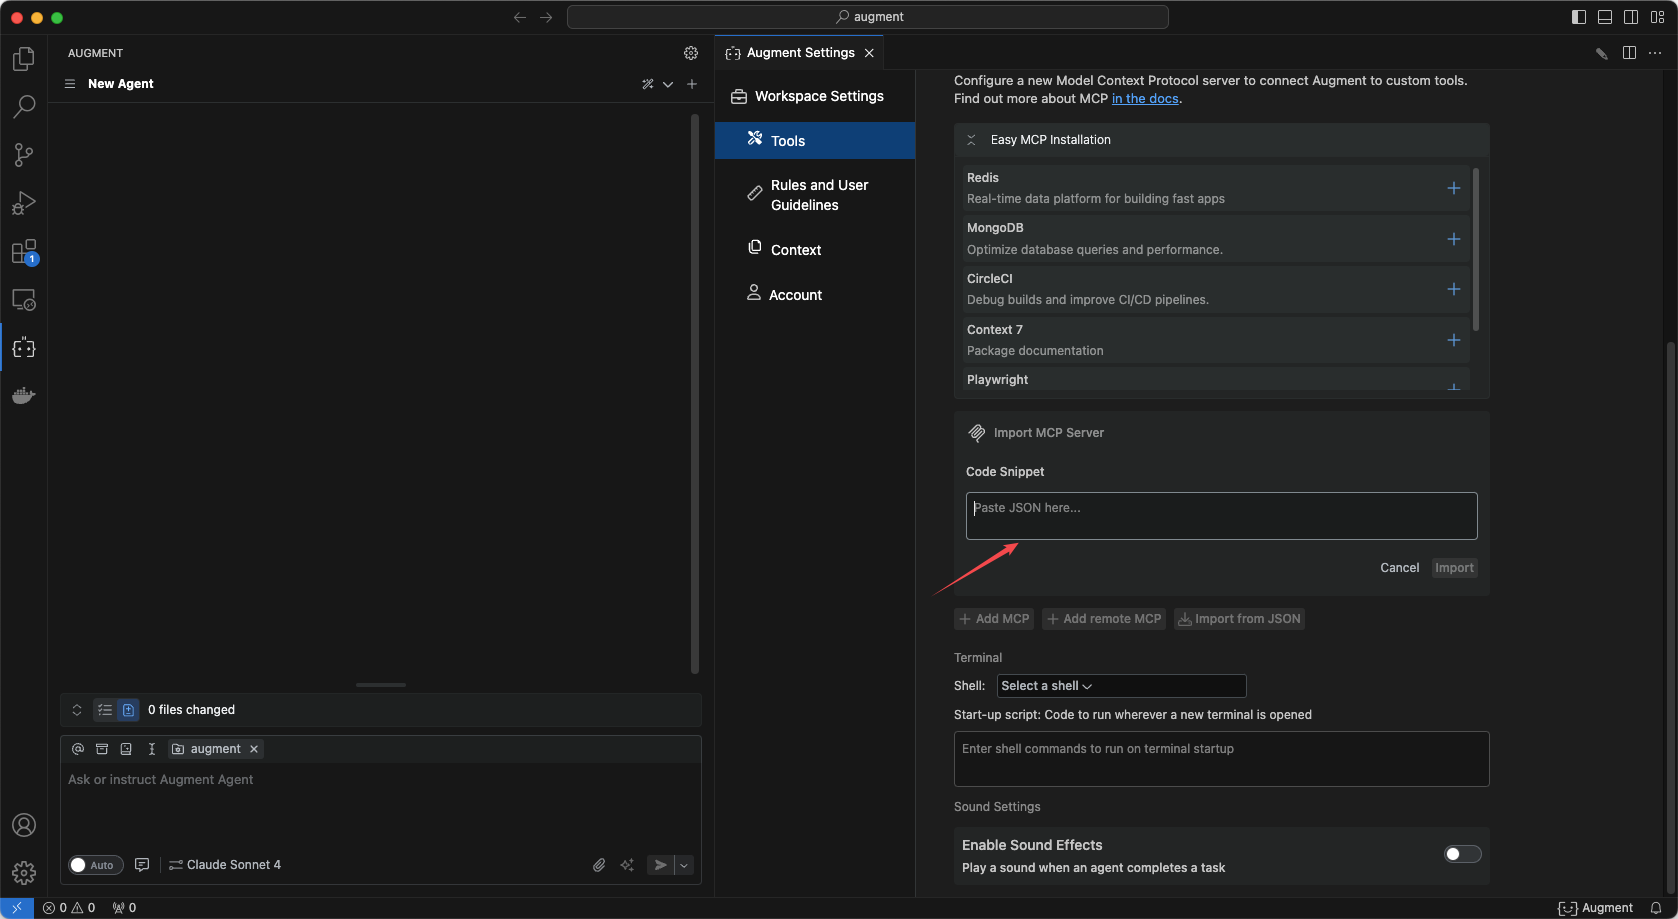
Fill in the configuration file and click Confirm.
{
"mcpServers": {
"seekdb": {
"autoApprove": [],
"disabled": false,
"timeout": 60,
"type": "sse",
"url": "http://ip:port/sse"
}
}
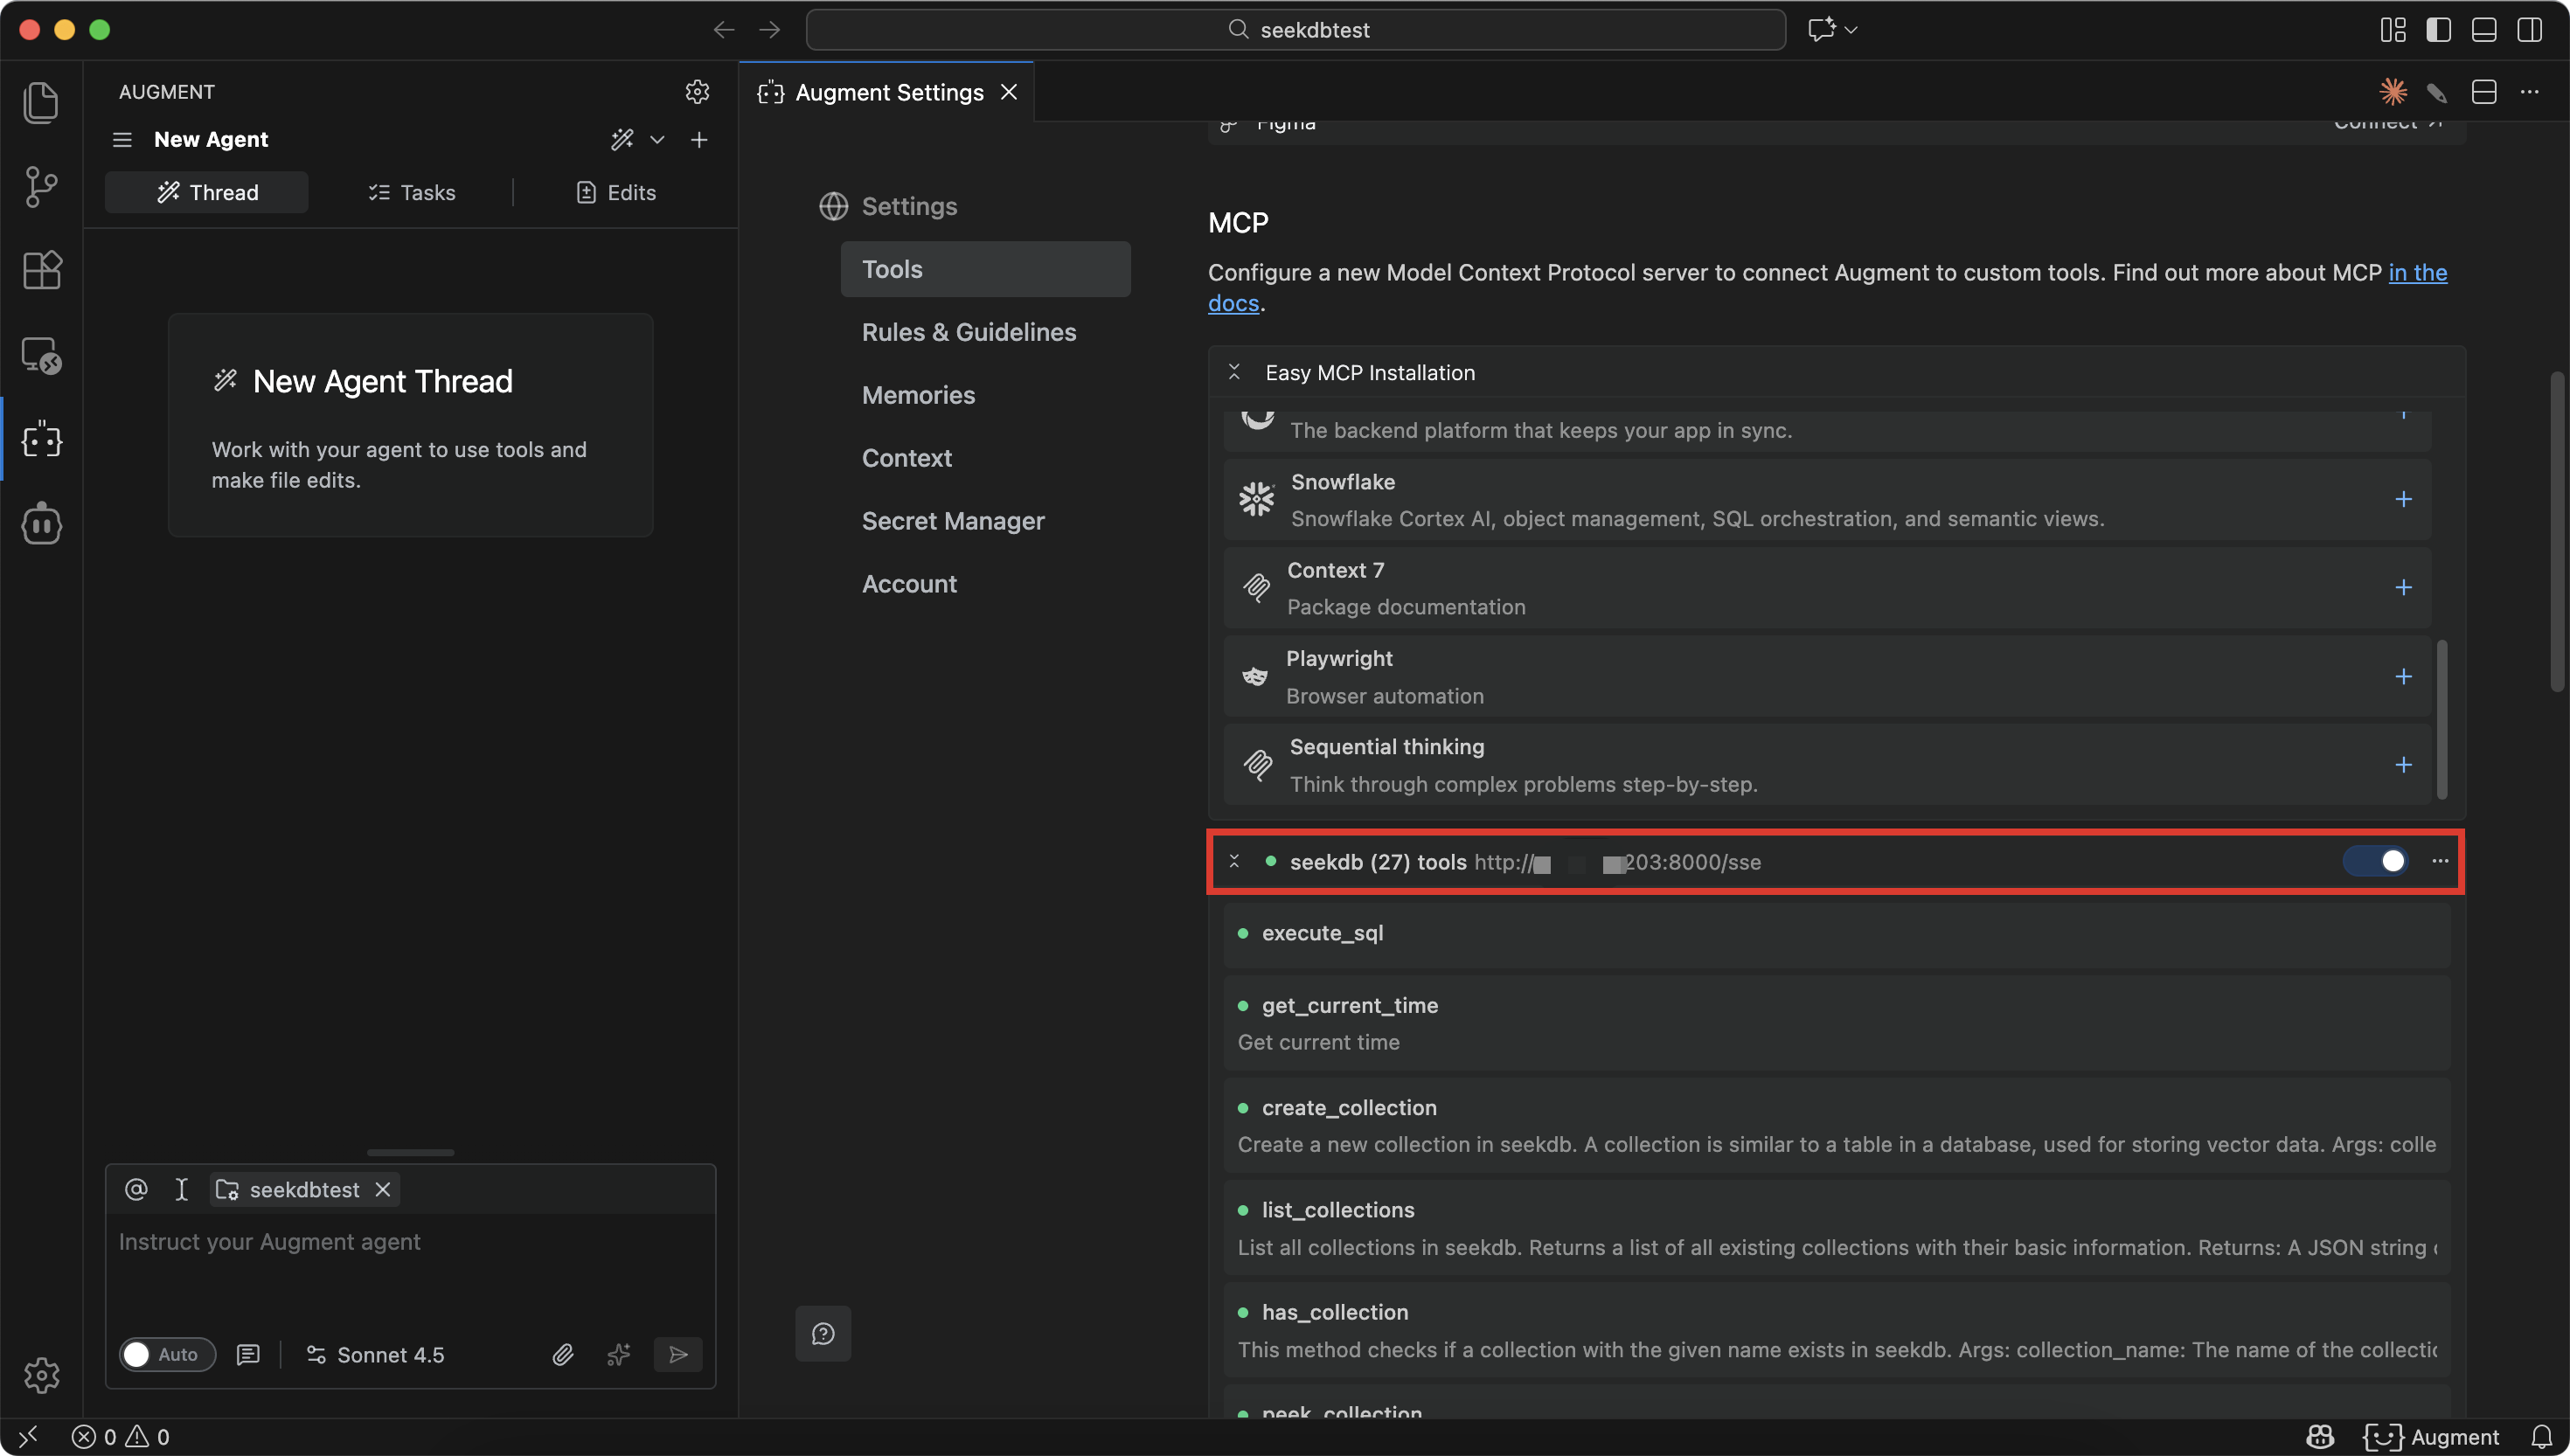
}Augment Code displays the tools in the current seekdb MCP server, indicating that the configuration is successful.